
How to set up web hosting in 2026
This is the practical path from a new hosting account to a live site: connect the domain, install the application, secure HTTPS, configure backups, and test the launch path before visitors arrive.
 By WebHostWatch editors
Updated April 26, 2026
By WebHostWatch editors
Updated April 26, 2026
Setup map
The setup should be done in a fixed order. don't install themes, plugins, or tracking scripts before the domain, SSL, backup, and rollback plan are clear.
Pick shared, managed WordPress, managed VPS, or raw VPS based on workload and support needs.
Choose nameservers for simplicity or A and CNAME records when DNS stays elsewhere.
Install WordPress or the app, then lock down admin access before adding plugins.
Enable HTTPS, force redirects, and clear mixed content before launch.
Set backups, cache, email records, monitoring, cookie consent, and a rollback path.
Test mobile, forms, checkout, 404s, sitemap, robots.txt, analytics, and restore.
1. Connect the domain before building the site
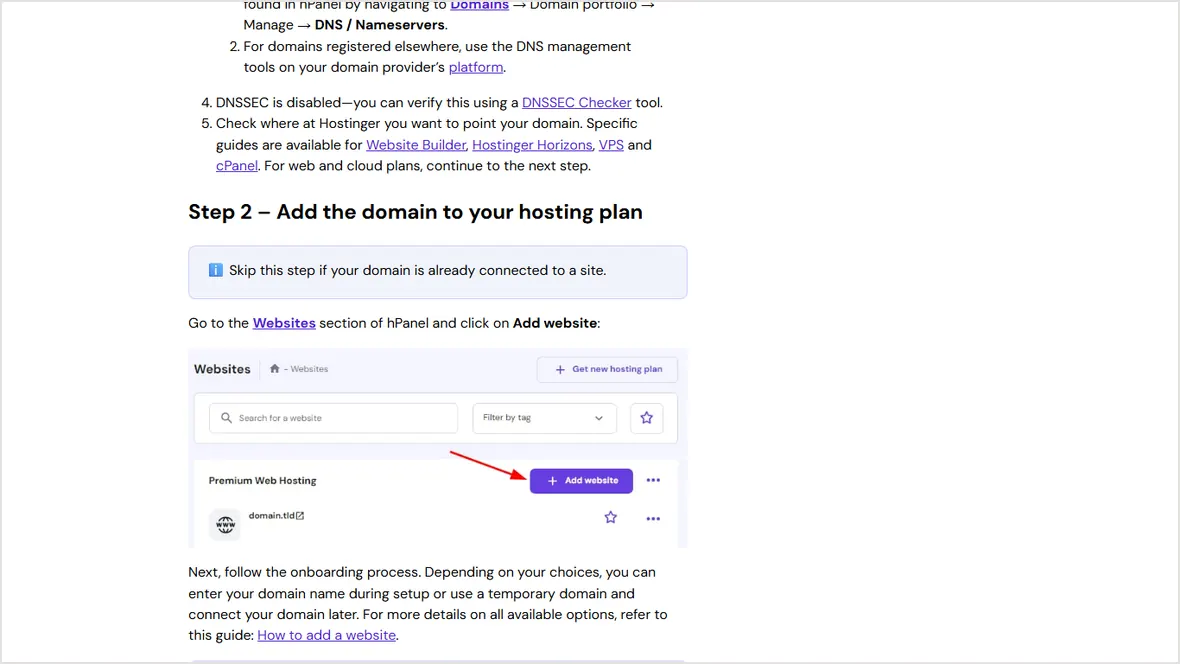
Choose nameservers or DNS records
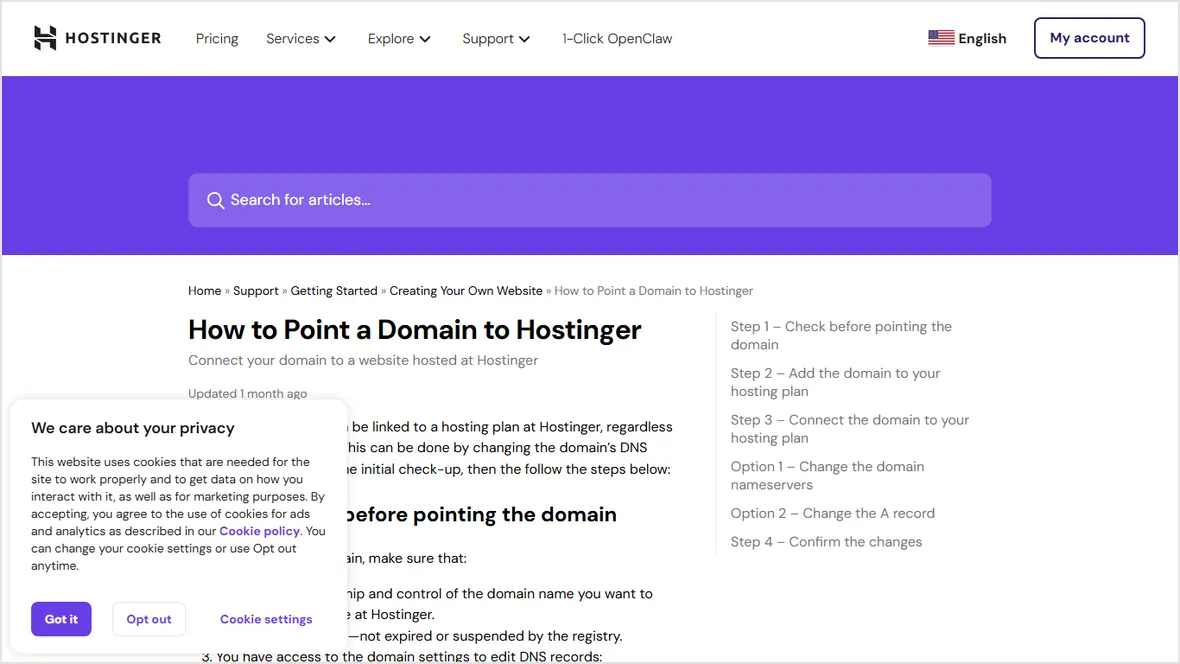
Nameservers move DNS management to the host. That's the easiest path for beginners because the host can create default web, SSL, and mail-related records. A and CNAME records are better when DNS must stay at Cloudflare, a registrar, or a company DNS account.
If email is already working on the domain, export or screenshot existing MX, SPF, DKIM, and DMARC records before changing nameservers.
Use the values from the current provider panel
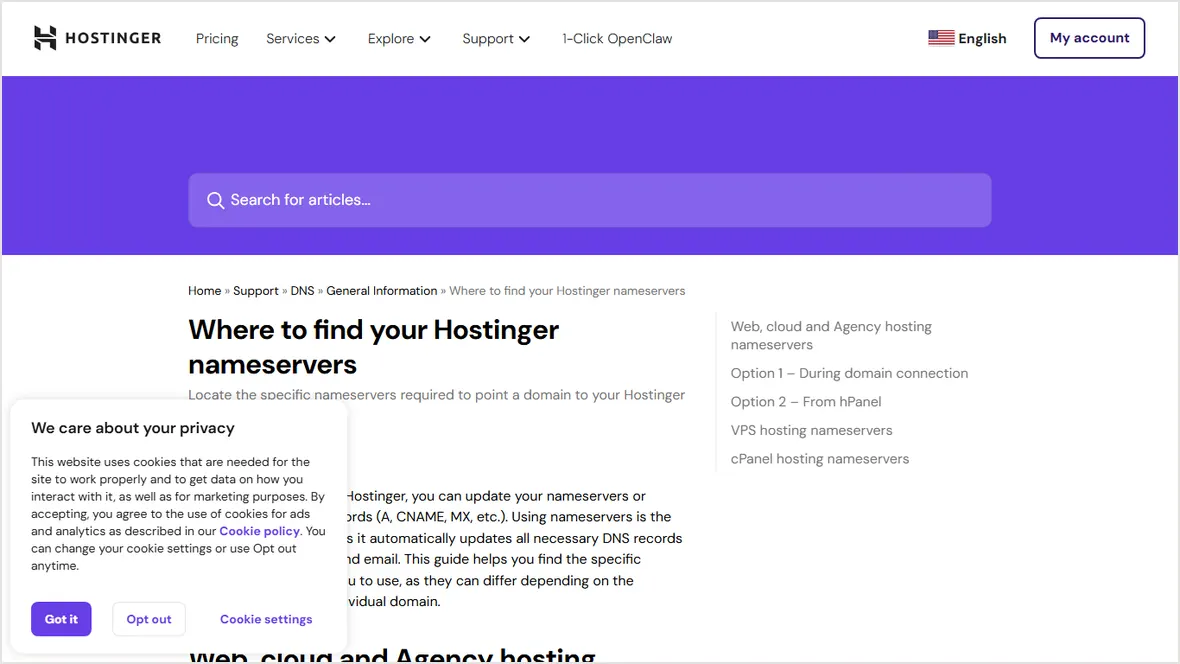
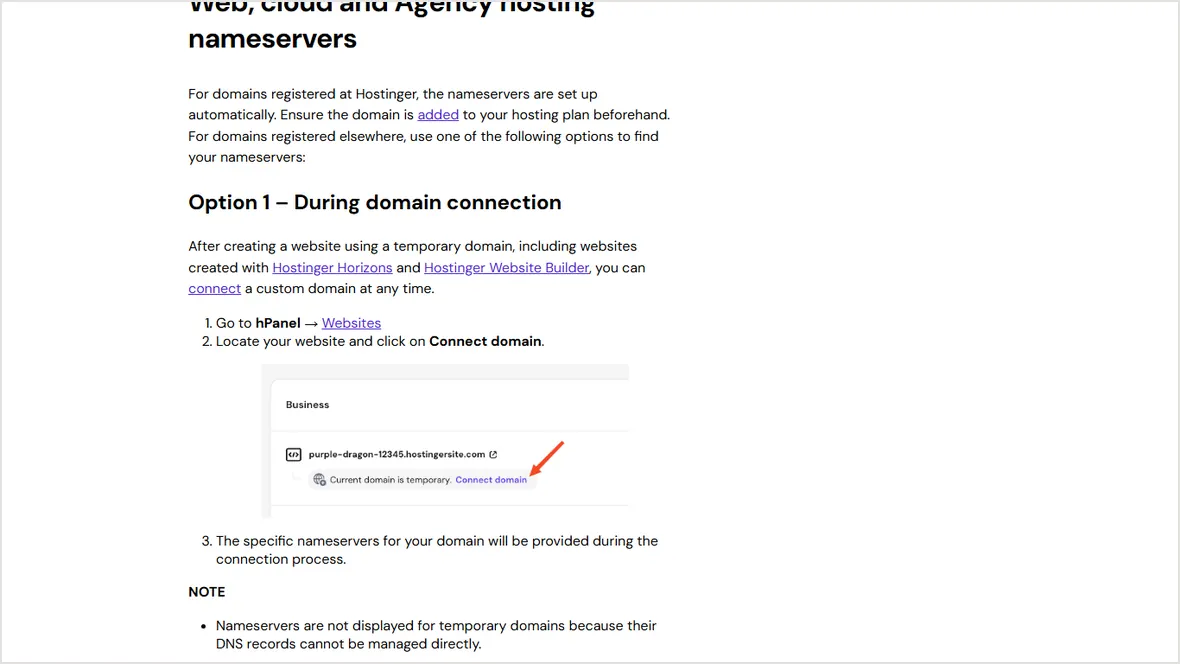
don't copy nameserver values from a random tutorial. Open the provider panel, find the exact domain or hosting plan, and use the current nameservers or IP address shown there.
2. Install WordPress or the application cleanly
Start with a plain install
Use the host installer or panel installer for WordPress unless you have a reason to migrate manually. Create the admin account, save credentials in a password manager, and immediately change any temporary password.
don't build the site on a temporary URL and forget the final domain. Check the WordPress site URL, home URL, permalink settings, and canonical redirects after DNS is live.
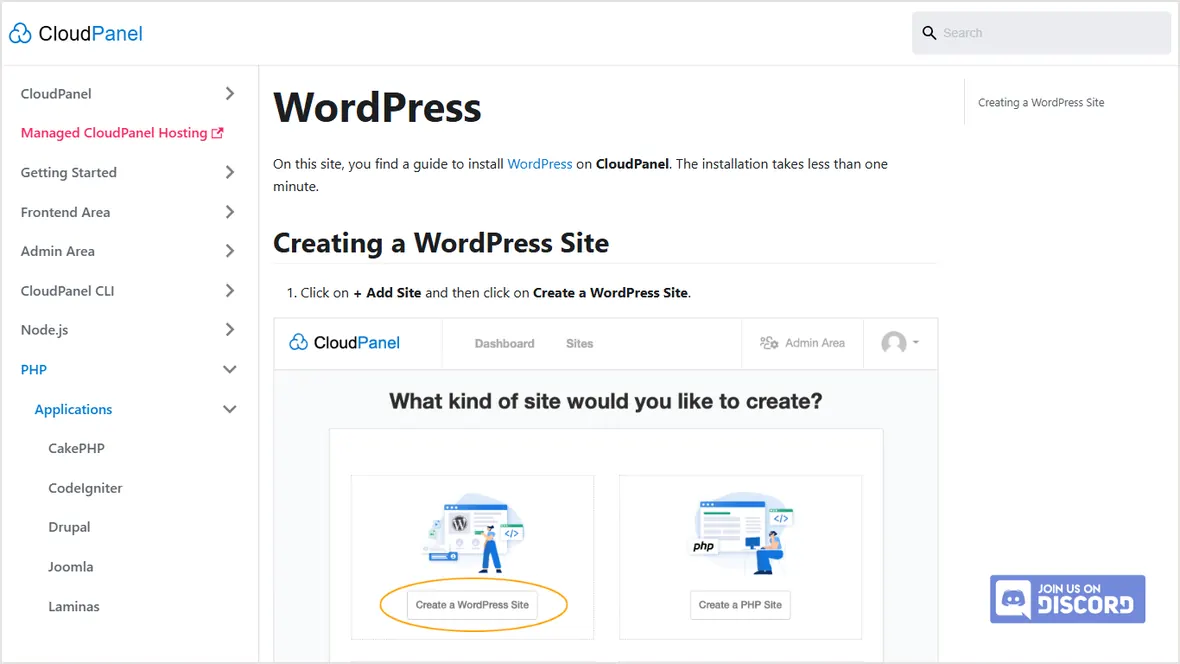
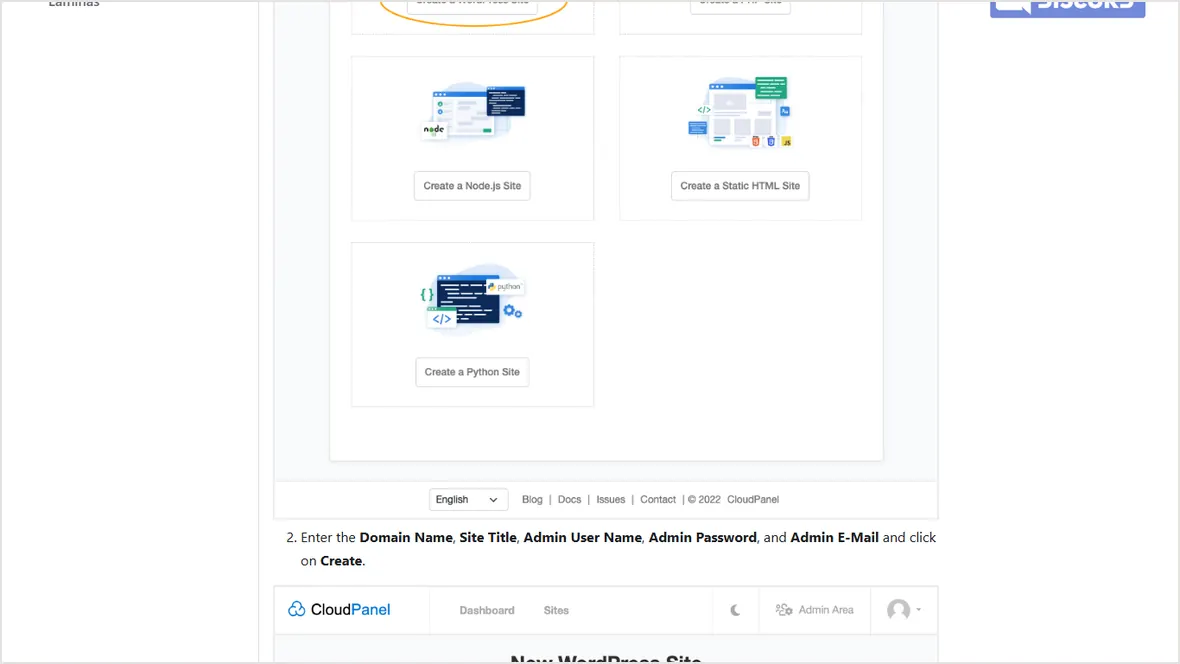

Keep the first plugin set small
Install only what the site needs on day one: SEO, forms, cache, security, backups if the host doesn't handle them, and analytics consent. Leave page builders, sliders, popups, and duplicate cache plugins out until the base site is stable.
Good first install
Theme, SEO, form plugin, cache layer, image optimization, security, analytics consent, and one backup method.
Bad first install
Multiple builders, two cache plugins, abandoned plugins, heavy sliders, unused WooCommerce add-ons, and tracking scripts before consent is configured.
3. Enable SSL and force HTTPS
SSL is not only a certificate. The site also needs HTTPS redirects, secure WordPress URLs, mixed-content cleanup, and a test from a private browser window.
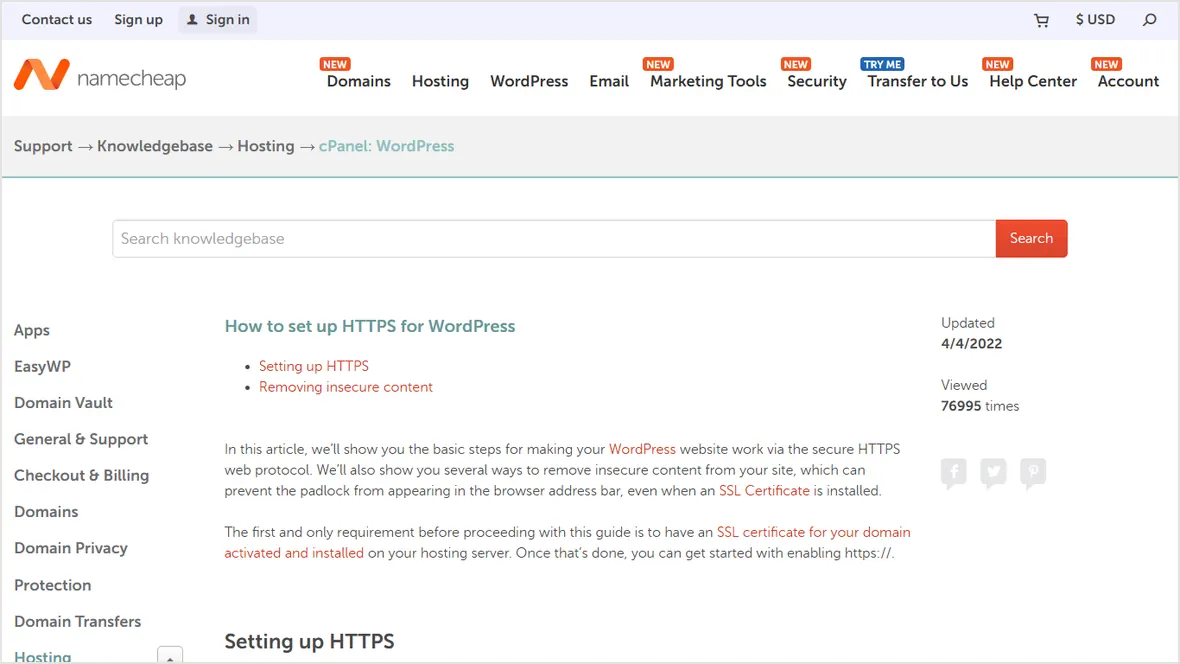
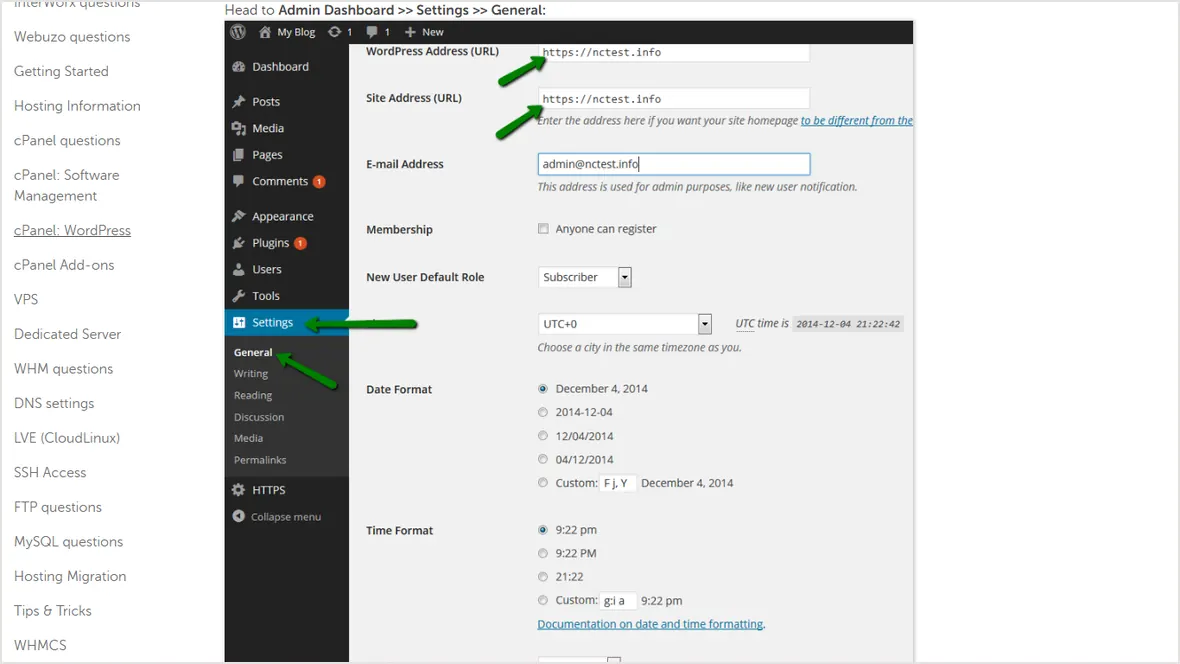
HTTPS checklist
Certificate issued, HTTP redirects to HTTPS, www and non-www behave consistently, image and script URLs load over HTTPS, and forms submit securely.
DNS patience
DNS changes can look inconsistent during propagation. Keep the old host active until the final domain works from more than one network.
4. Configure backups, email records, cache, and launch checks
Set backups before adding content
Confirm automatic backups, retention period, off-server storage, and restore steps. A backup you have not restored is only a guess.
Add email and CDN records deliberately
MX, SPF, DKIM, and DMARC records protect mail delivery. CDN and cache settings should be tested against logged-in pages, forms, cart, checkout, search, and account areas.

Send a real test message and verify it reaches the mailbox.
Check navigation, hero text, forms, image crops, and footer links on a phone viewport.
Confirm robots.txt, sitemap, canonical URL, and search visibility settings.
Keep the old site, DNS values, and backup restore path available for at least 24 hours.
Official sources checked
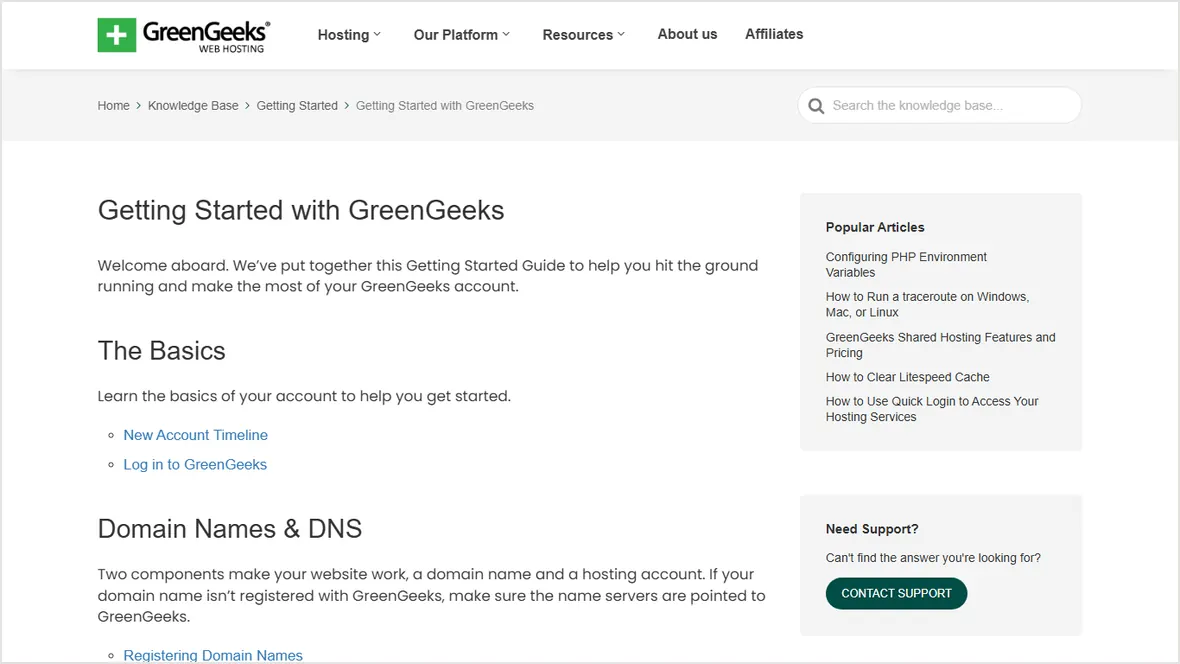
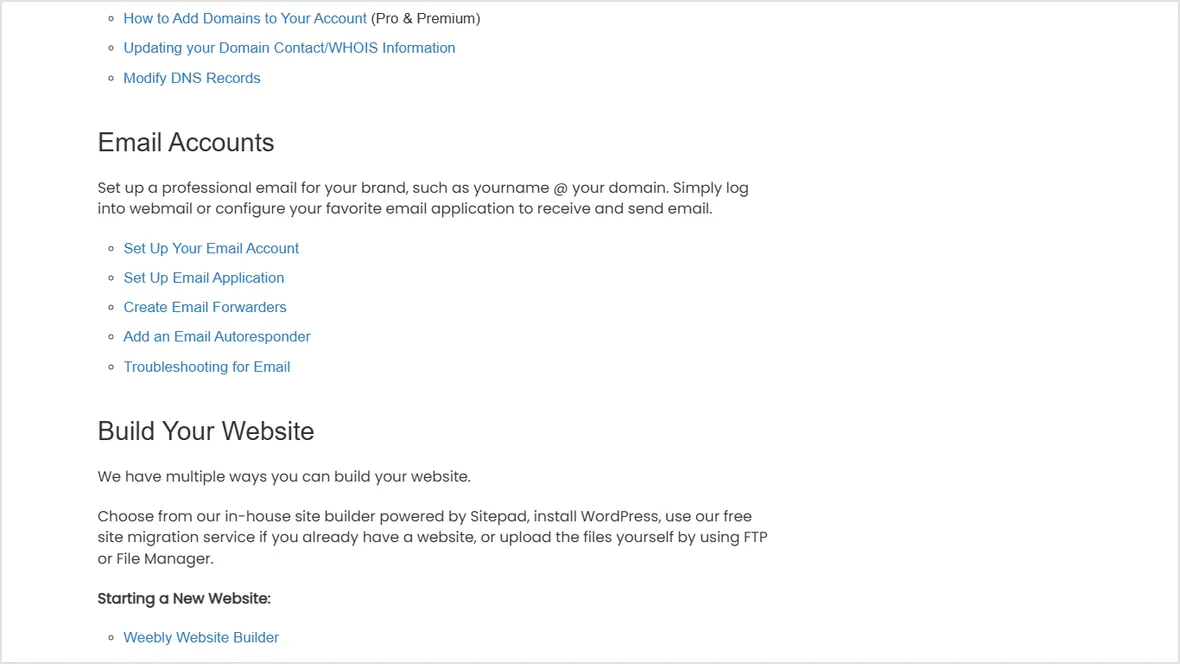
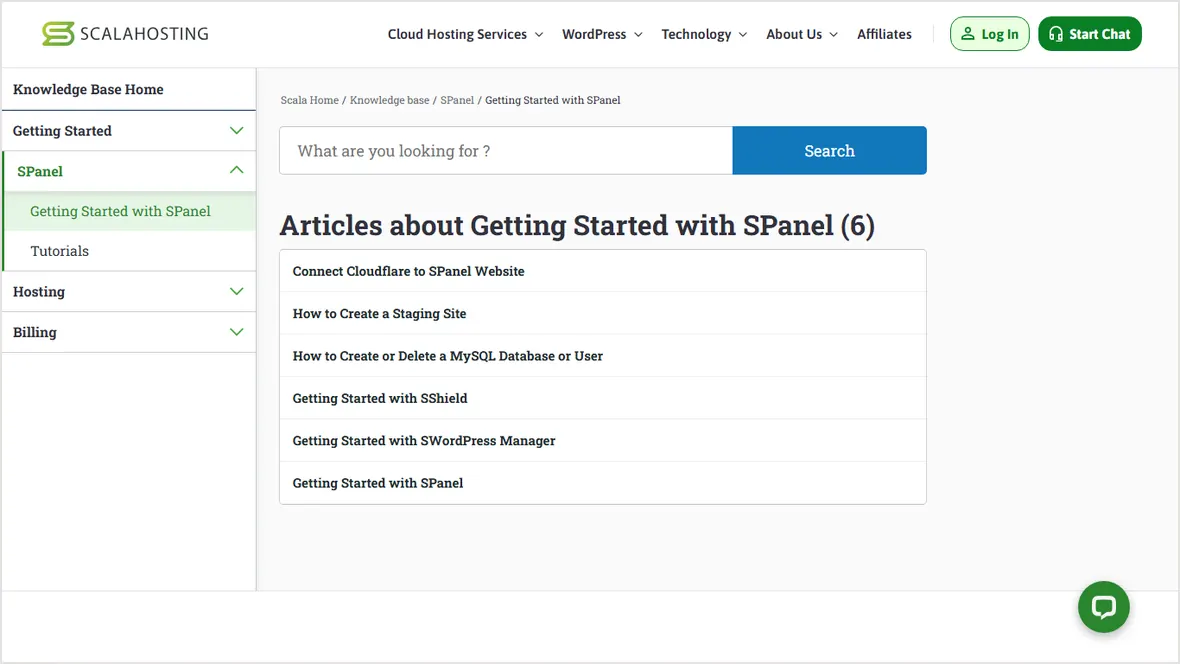
Embedded images are local WebP files saved from official provider pages. Bluehost help pages were checked for text, but no Bluehost help-page image is embedded because those pages are gated.
Used for nameserver versus A record setup logic.
Used for the exact-nameserver warning and hPanel lookup path.
Checked for WordPress install sequence and database handling. No image is embedded because the help page is gated.
Checked for SSL activation context. No image is embedded because the help page is gated.
Used for HTTPS and mixed-content follow-up checks.
Used for onboarding scope across account, domain, and site setup.
Used for WordPress feature checklist context.
Used for panel-based WordPress creation checks.
Used for managed panel setup context.