
How to set up email records for hosting
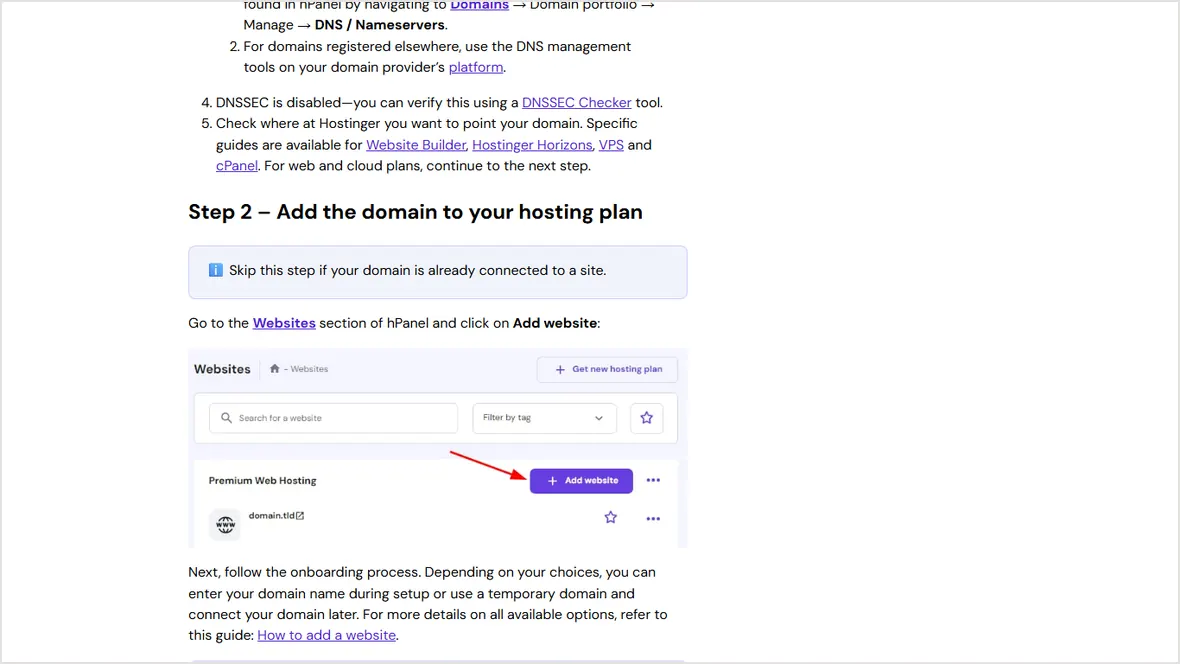
Email breaks when DNS changes are treated like a single website switch. Copy the mail records first, then move the web records.
 By WebHostWatch editors
Updated April 28, 2026
By WebHostWatch editors
Updated April 28, 2026
1. Copy the existing DNS zone first
Before changing nameservers or web records, record every mail-related value from the current DNS provider. At minimum, keep MX, SPF, DKIM, DMARC, autodiscover, and webmail records.
2. Set MX records for the mail provider
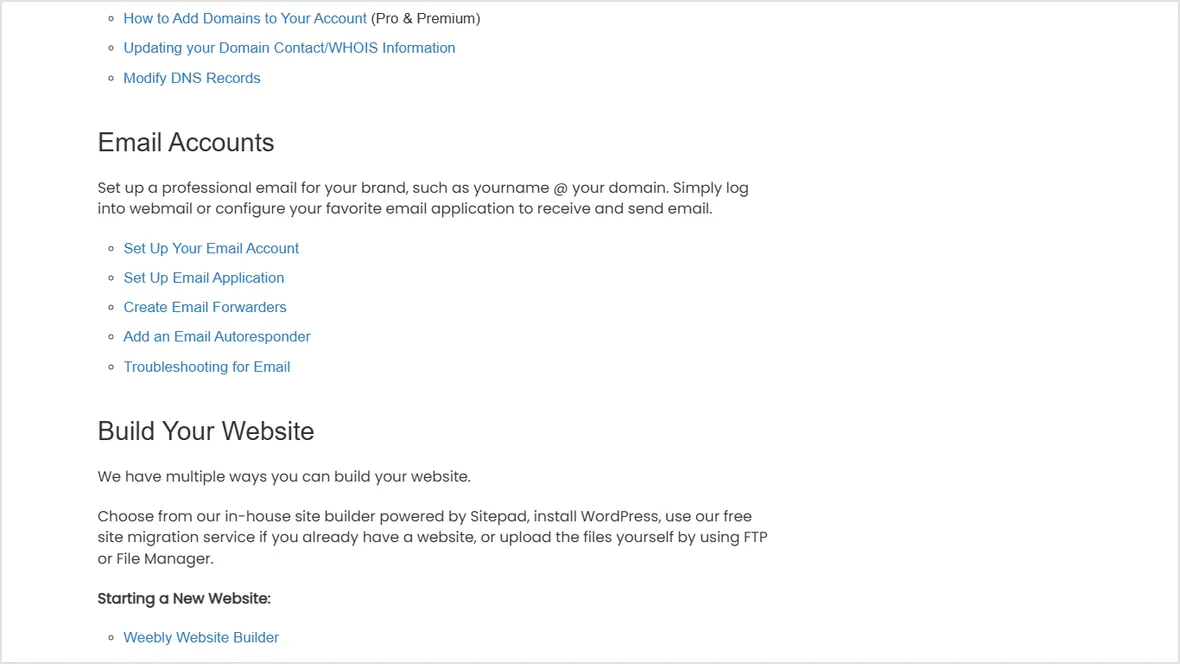
MX records decide where incoming mail goes. If email stays at Google Workspace, Microsoft 365, Zoho, or another provider, keep those MX values even if the website moves to a new host.
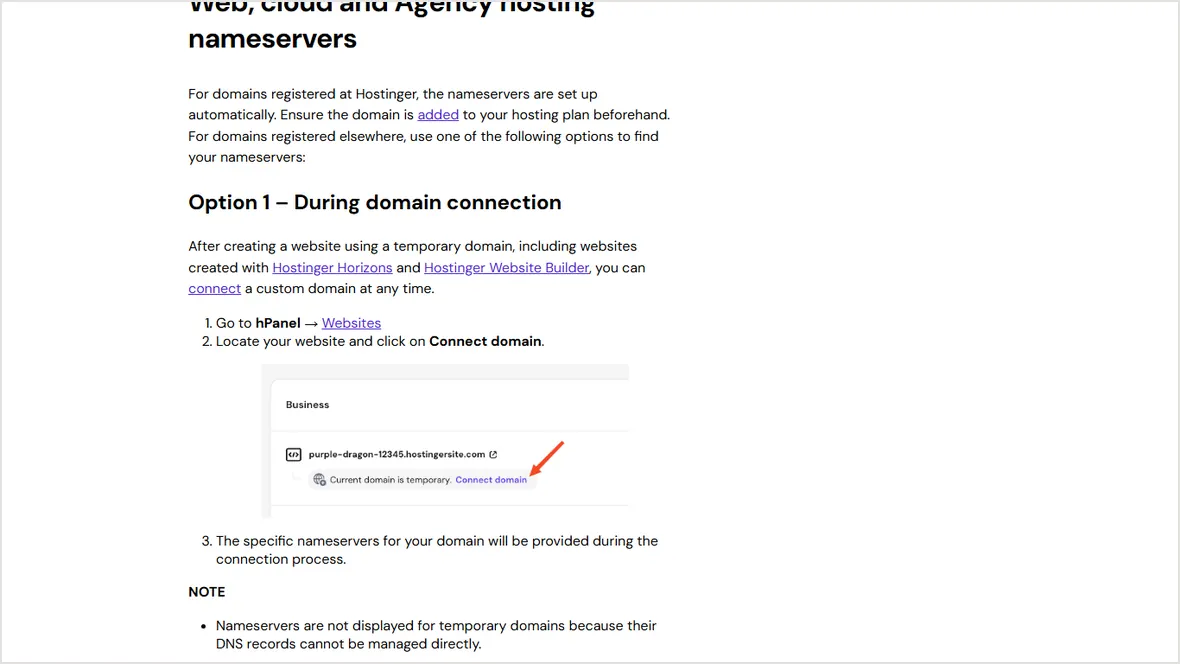
Changing nameservers without recreating MX records is the common way to make a domain stop receiving mail.
3. Add SPF, DKIM, and DMARC TXT records
Authorizes which mail services can send for the domain.
Signs outgoing mail so receiving servers can verify it.
Tells receivers what to do when SPF or DKIM fails.
Keep verification records for Google, Microsoft, Stripe, and other apps.
4. Test sending and receiving mail
dig MX example.com
dig TXT example.com
dig TXT _dmarc.example.com
Send a message from the domain to an outside mailbox, reply to it, and check that the message doesn't land in spam. Test this before canceling the old host or DNS provider.
Official sources checked
Used for DNS record versus nameserver setup logic.
Used for nameserver-change context.
Used for account, domain, and email setup context.