
How to enable HTTPS on WordPress
A certificate is only the first step. WordPress also needs correct URLs, redirects, mixed-content cleanup, and a final test from a fresh browser session.
 By WebHostWatch editors
Updated April 28, 2026
By WebHostWatch editors
Updated April 28, 2026
1. Confirm DNS points to the right host
SSL issuance usually fails when the domain still points at the old host or a proxy is misconfigured. Confirm root and www resolve to the hosting account before requesting the certificate.
dig +short example.com
dig +short www.example.com
curl -I http://example.com

2. Issue or activate the SSL certificate
Use the host panel first
Most shared and managed WordPress hosts provide free SSL. Activate it from the hosting panel and wait until the certificate shows as issued before forcing redirects.
Use Certbot on a self-managed VPS
If this is a VPS with Nginx or Apache, issue the certificate from the server after DNS points to the VPS.
sudo certbot --nginx -d example.com -d www.example.com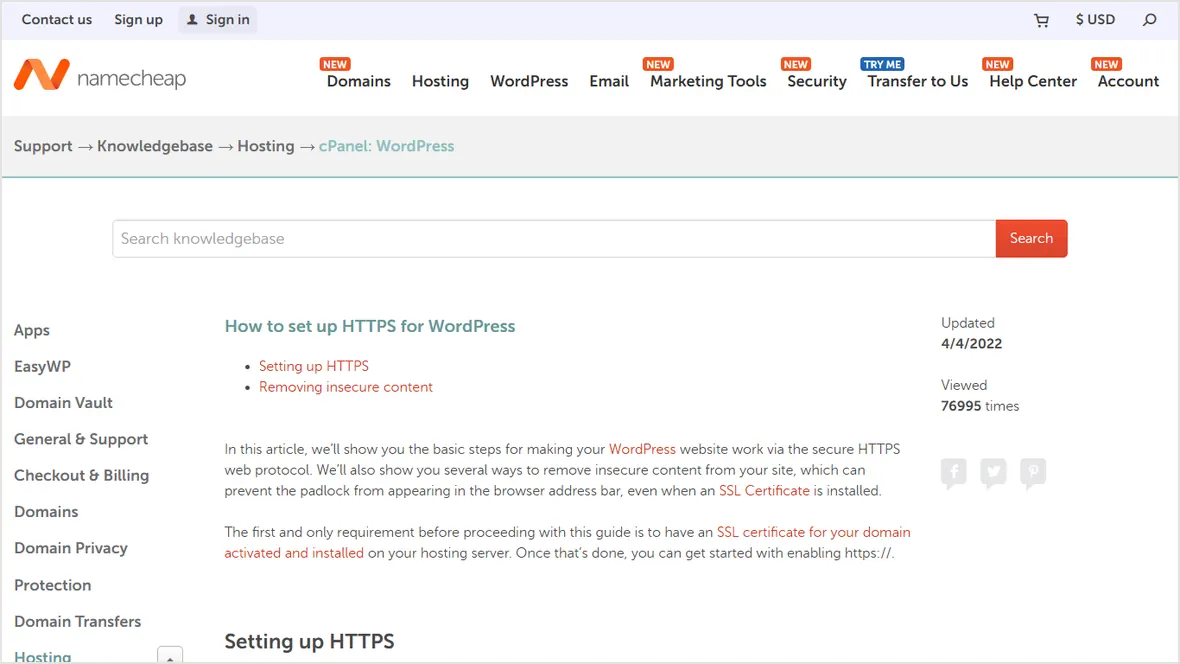
3. Update WordPress URLs and force redirects
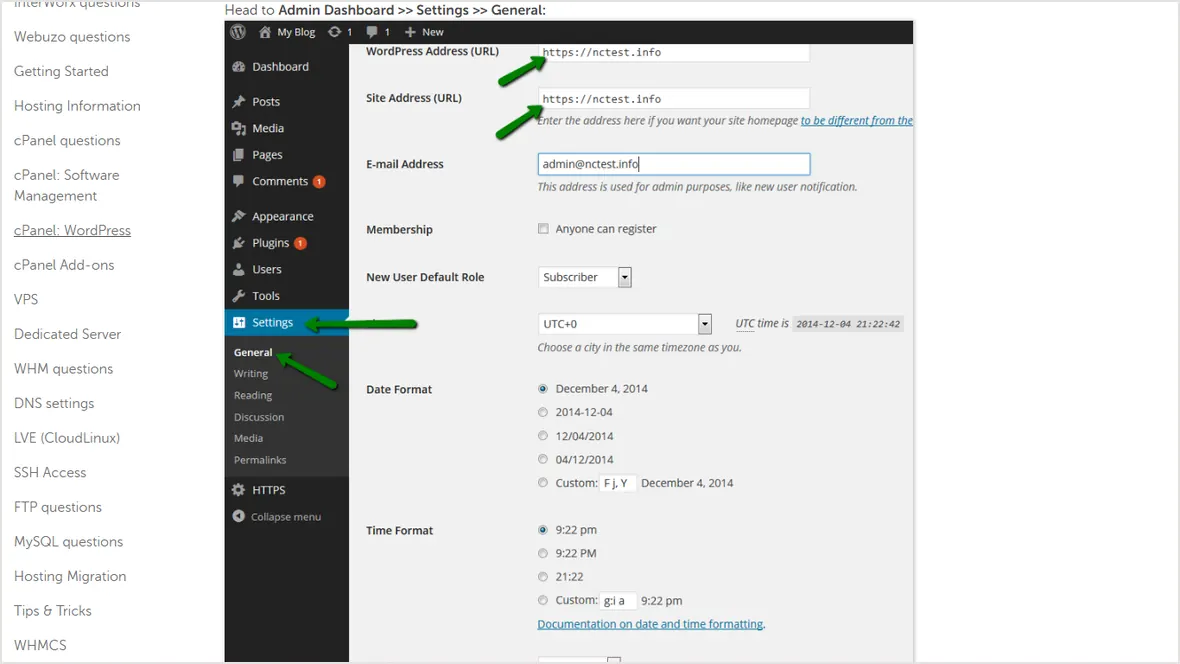
Inside WordPress, confirm both the WordPress Address and Site Address use https. Then force HTTP traffic to HTTPS from the host panel, plugin, or server config.
don't run multiple SSL redirect plugins at the same time. Duplicate redirect rules can create loops.
4. Test for mixed content and broken redirects
http://example.com and http://www.example.com both end at the intended HTTPS URL.
Images, scripts, CSS, fonts, and embeds load over HTTPS.
Contact, login, checkout, and newsletter forms submit without browser warnings.
Clear plugin, CDN, object, and browser cache after switching URLs.
Official sources checked
Used for WordPress URL, SSL, and mixed-content steps.
Used for free SSL activation context.
Used for SSL and WordPress feature checklist context.