
How to connect to a VPS with SSH keys
SSH keys should be set before the server becomes public infrastructure. This guide covers key creation, first login, sudo users, and lockout checks.
 By WebHostWatch editors
Updated April 28, 2026
By WebHostWatch editors
Updated April 28, 2026
1. Create an SSH key on your computer
Use an Ed25519 key unless your provider or old software requires RSA. The public key goes to the VPS provider. The private key stays on your computer.
ssh-keygen -t ed25519 -C "[email protected]"
# Public key to upload:
type $env:USERPROFILE\.ssh\id_ed25519.pubNever paste the private key into a hosting panel, ticket, chat, or document. Upload only the .pub file content.
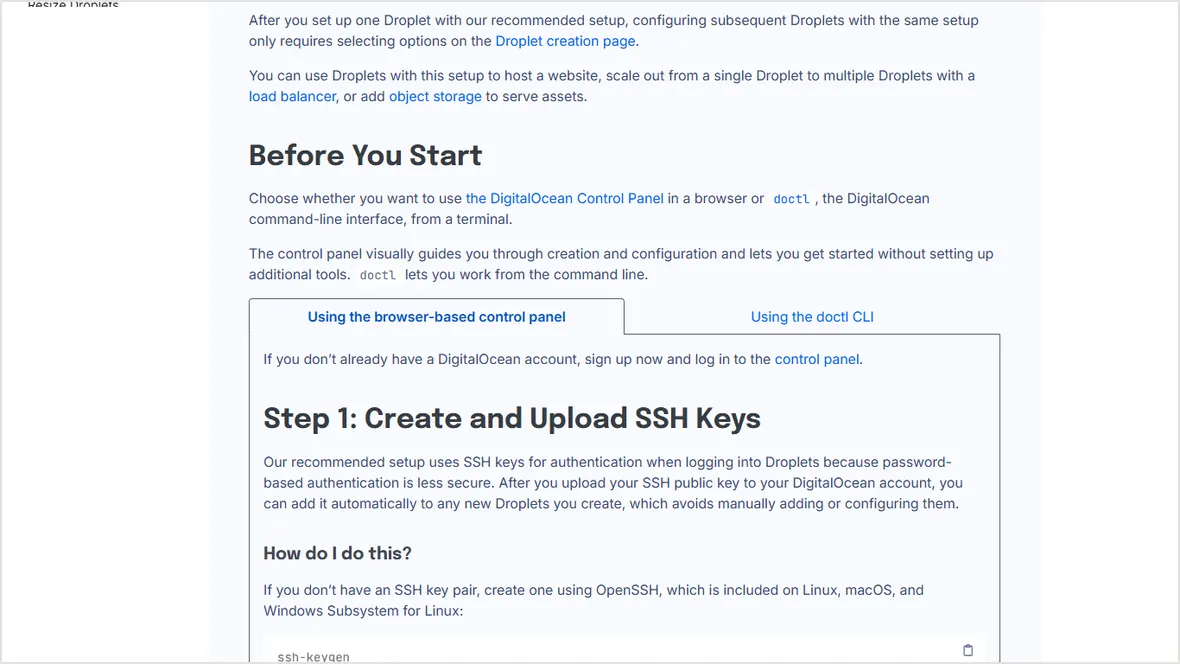
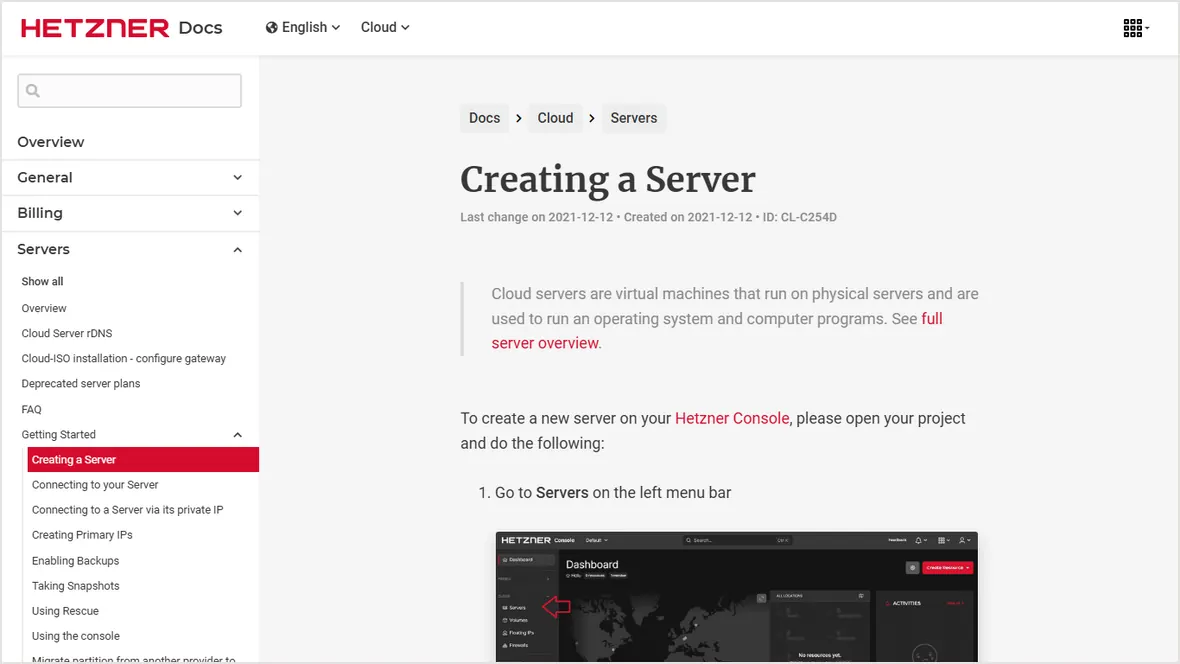
2. Upload the public key before creating the server
Most providers let you add the SSH key during server creation. That's cleaner than creating the VPS with password login and fixing access later.
3. Connect for the first time
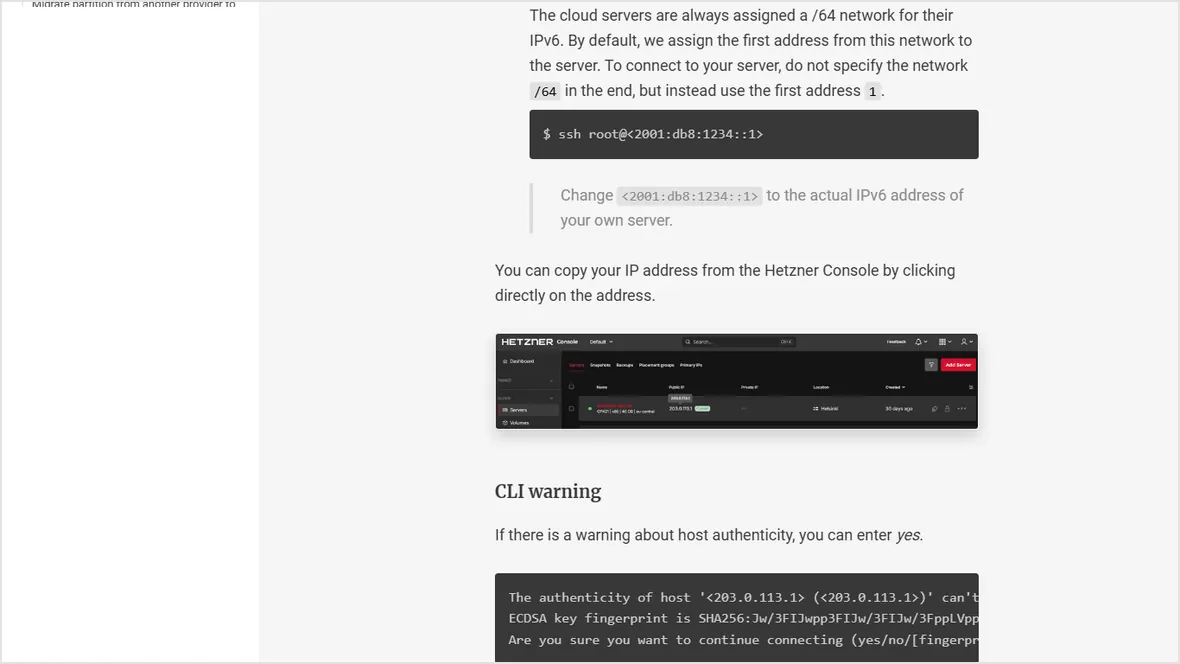
ssh root@SERVER_IP
# If using a named key:
ssh -i $env:USERPROFILE\.ssh\id_ed25519 root@SERVER_IP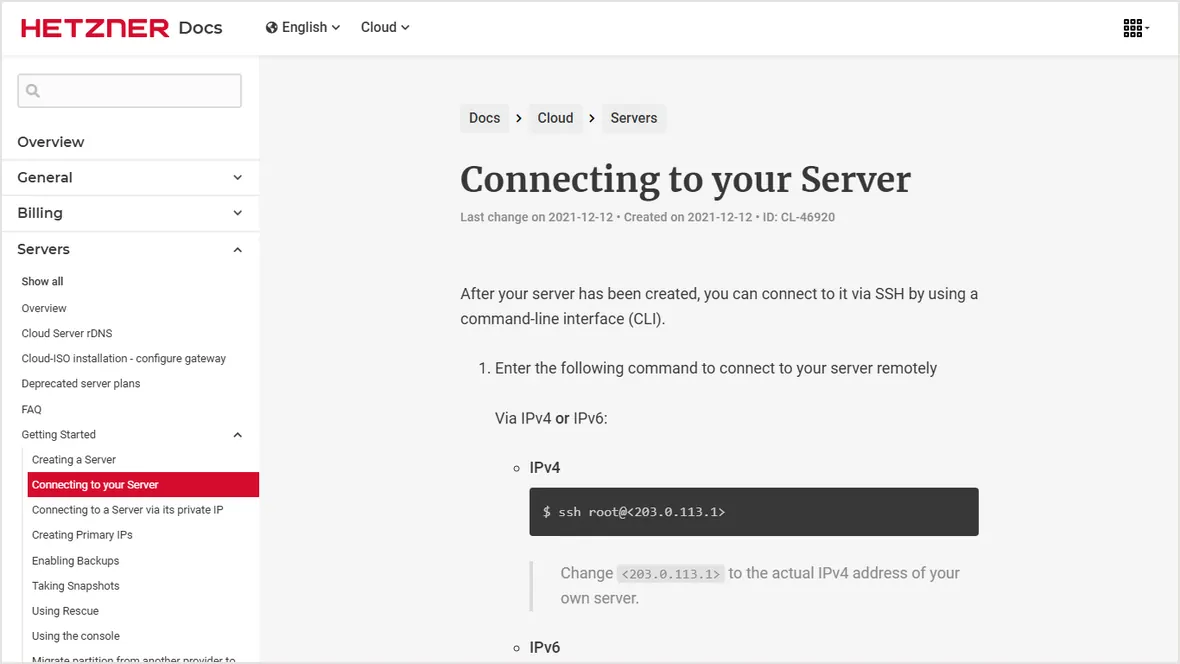
4. Add a sudo user and test before closing root
adduser deploy
usermod -aG sudo deploy
rsync --archive --chown=deploy:deploy ~/.ssh /home/deploy
ssh deploy@SERVER_IP
sudo whoamiA new terminal can log in as the sudo user.
`sudo whoami` returns root for the new user.
The original root session stays open during testing.
SSH is allowed before changing firewall rules.
Official sources checked
Used for SSH key and production setup sequence.
Used for SSH key placement during server creation.
Used for first-login and command examples.